S&P Asphalt reinforcement
Fibre reinforcement grids for asphalt surfaces
An area packed with useful information and resources for professionals looking to design and plan their next pavement project
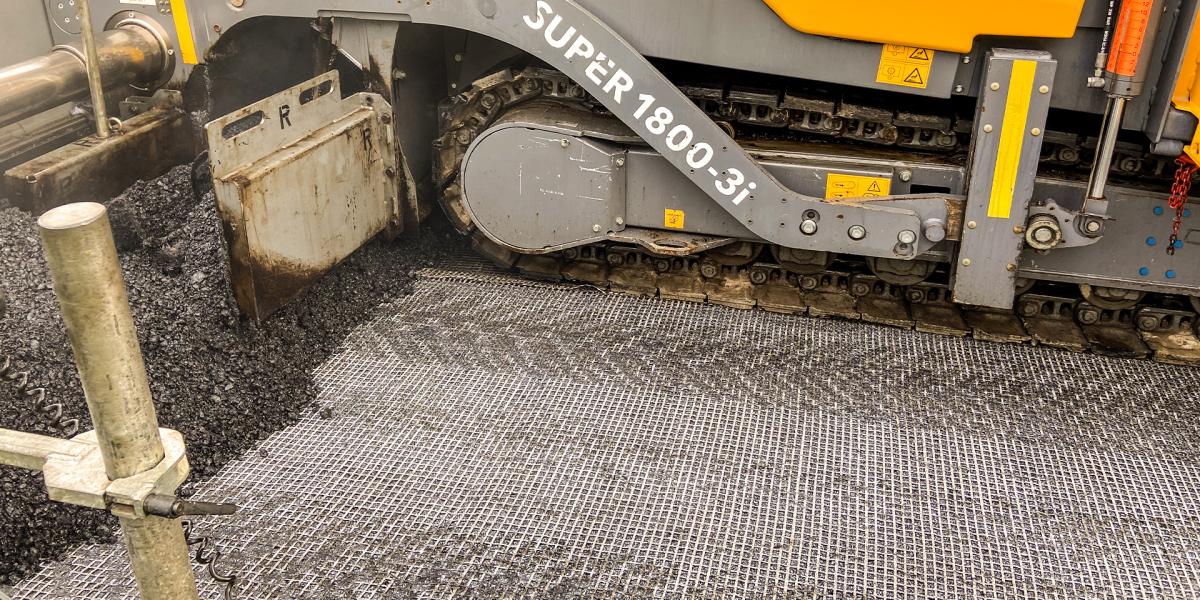
The future of road construction: A series of tests have proven the effectiveness of using S&P asphalt reinforcement with low temperature asphalt

An anchor like no other. Specially developed with a pre-cured composite section to enhance performance, quality and reliability.

It really is all about selecting the right system in the right place when it comes to resolving structural issues using FRP systems. That's why we have some application specific solution pages to make the decision easier.

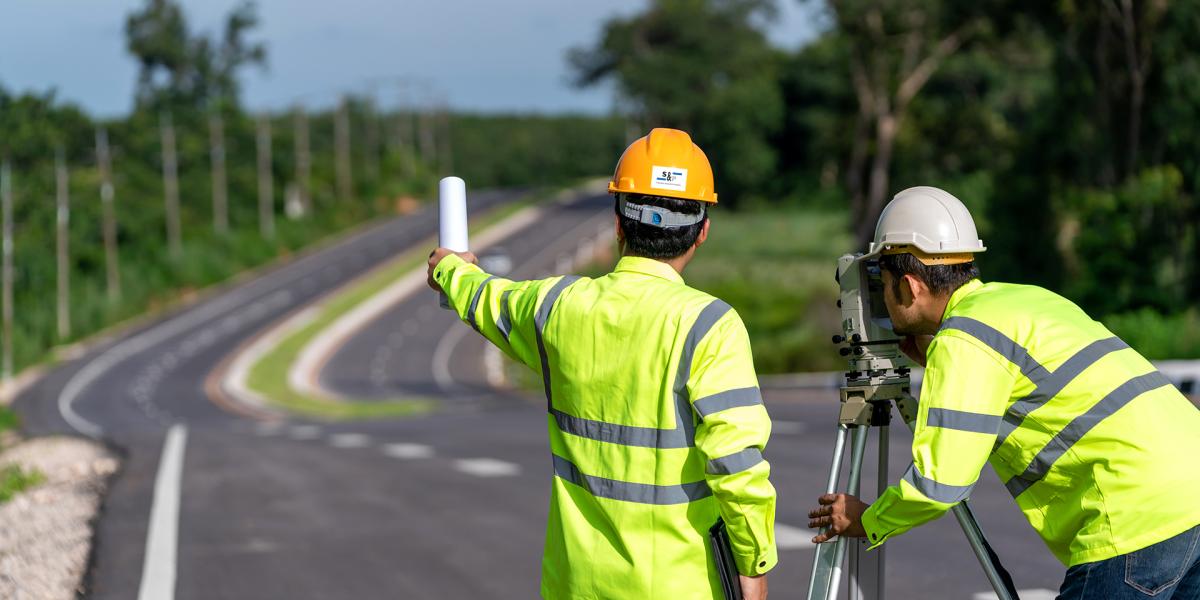
S&P offer cost efficient, sustainable and proven asphalt reinforcement solutions for the maintenance of your road network! With support from conception to completion, S&P can help to overcome challenges on your infrastructure projects!
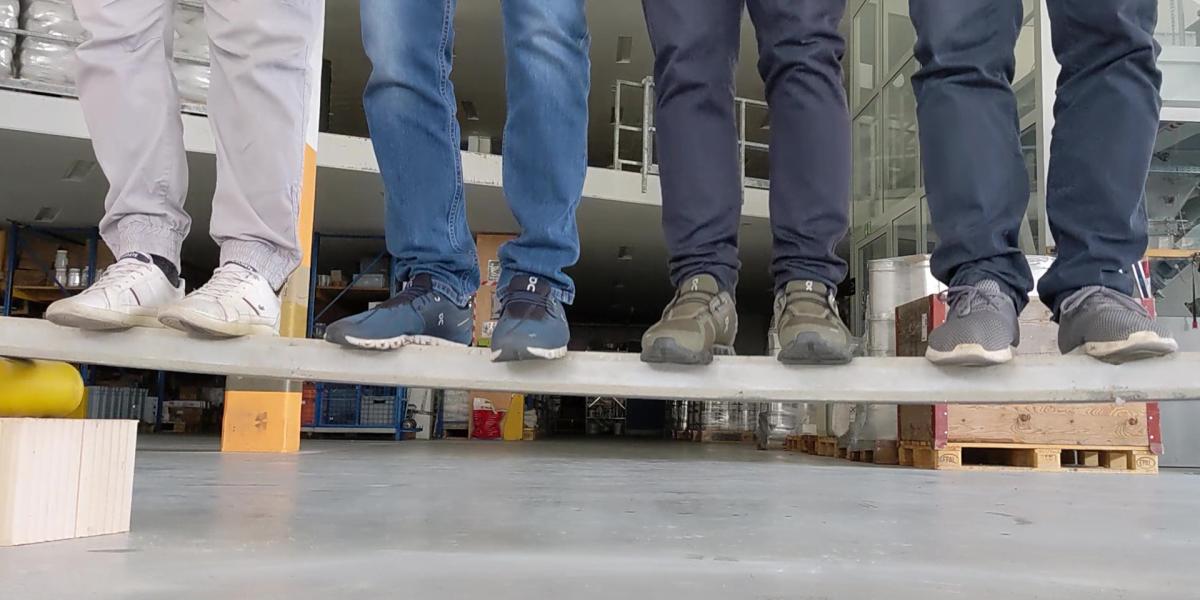
In this simple comparison, two test beams were loaded - one with no FRP reinforcement and one reinforced with S&P C-Laminate. The result of the test clearly shows the benefit of using S&P FRP Systems...
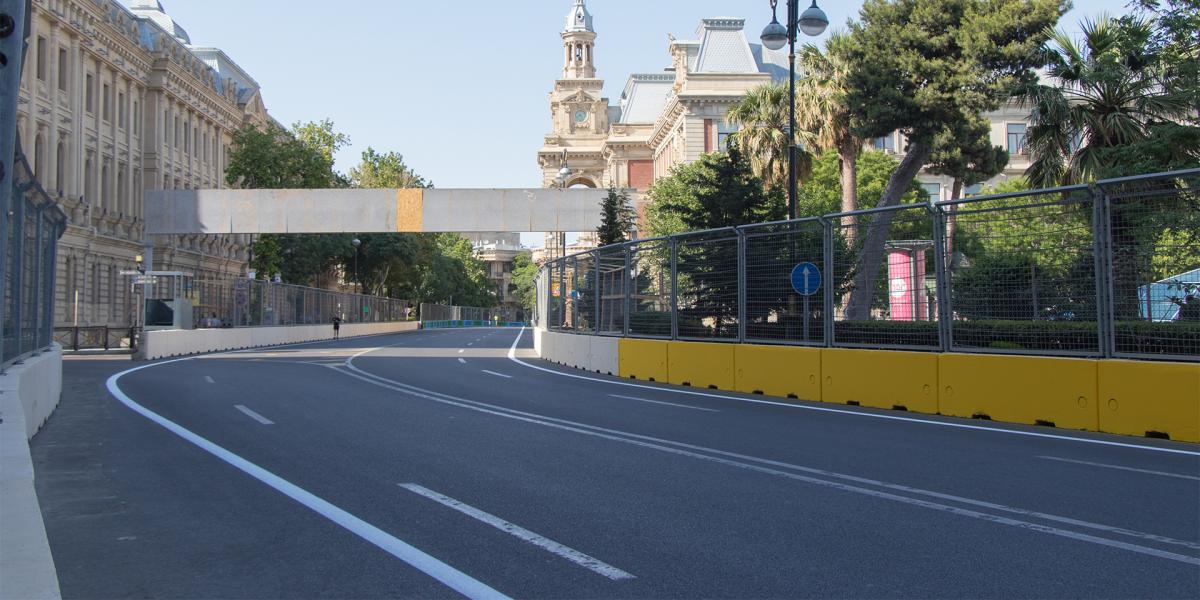
S&P Carbophalt® G 200/200 was used as part of an innovative solution on the old town streets of Baku during the construction of the Formula One racing circuit.
Switzerland
Seewernstrasse 127
CH - 6423 Seewen
Portugal
Rua José Fontana, N°76
Zona Industrial Stª Marta de Corroios
PT-2845-408 Amora
Poland
Ul. Bydgoska 9
PL- 82-200 Malbork
Netherlands
Aphroditestraat 24
NL-5047 TW Tilburg
Netherlands
Aphroditestraat 24
NL-5047 TW Tilburg
Sweden
GBO Fastening Systems AB
Bruksvägen 3
SE-593 75 Gunnebo
Org. Nummer: 5565405452
Spain
C/ Carlos Jiménez Díaz, 17
Pol. Ind. La Garena
ES-28806 Alcalá de Henares (Madrid)
Denmark
Hedegaardsvej 11
DK-8300 Odder
CVR 65653818
France
ZAC des 4 Chemins
FR-85400 Sainte-Gemme-la-Plaine
Germany
Hubert-Vergölst-Straße 6
DE-61231 Bad Nauheim
Austria
Hubert-Vergölst-Straße 6
DE-61231 Bad Nauheim